Essentially, a Recovery Drive stores a copy of your Windows 11/10 environment without your personal files and desktop applications on another source, such as a DVD or USB drive. So in the event your Windows 11/10 goes south, you can restore it from that drive. In this post, we will illustrate how you can use a recovery drive to restore a Windows 11/10 computer.
Use Recovery Drive to restore Windows 11/10
You have earlier created a recovery drive for your Windows PC and at a certain time, your Windows installation is so damaged that it’s unable to load or repair itself, you can follow the 7-step process in the order outlined below to successfully restore your Windows 11/10 install using the recovery USB drive or DVD media.
- Boot the PC using the Recovery Drive
- Select a Language
- Recover From a Drive
- Remove Files
- Recover Windows
- Finalize recovery
- Set up Windows
Let’s take a look at the brief description as it concerns each of the steps.
1] Boot the PC using the Recovery Drive
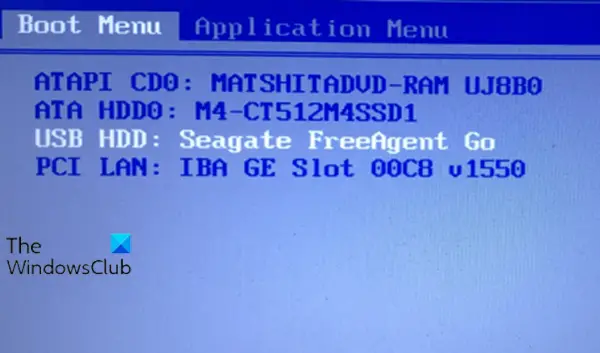
Insert your recovery USB drive or DVD into your computer. Upon boot-up, press the appropriate key to boot from the USB drive or DVD instead of your hard drive.
2] Select a Language

At the keyboard layout screen, select the keyboard for your language or country. Press Enter.
Related: Recovery Drive is full! How to free up space on Recovery Drive in Windows?
3] Recover From a Drive
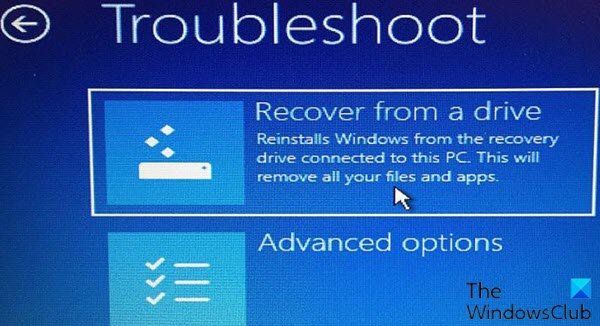
At this step, click Recover from a Drive to instruct the computer to take the version of Windows on your drive. As a reminder, this means all your files and apps will be removed after the operating system is reinstalled.
Read: How to recover files when Windows 10 won’t boot.
4] Remove Files
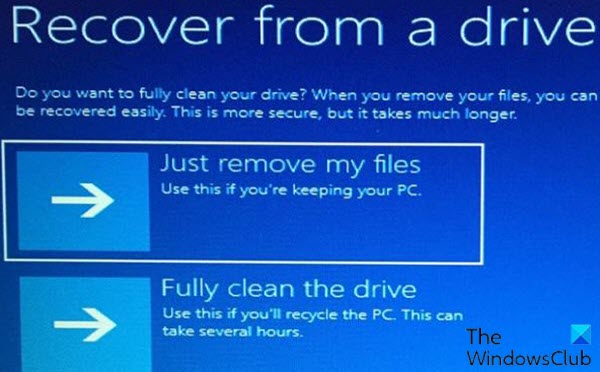
At this step, you have the option to remove only files or completely wipe the operating system, if you were planning to recycle the computer. Since you intend to keep this machine, click Just remove my files.
5] Recover Windows
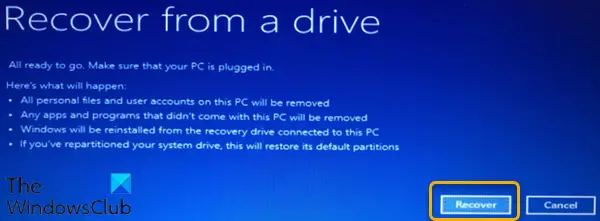
The final step is to click Recover. The computer will warn you one more time that all personal files will be deleted and any apps that did not come with the OS will be removed. Furthermore, if you partitioned your hard drive, this will restore it to its original state, which means you’ll have to set up the partition again.
6] Finalize recovery
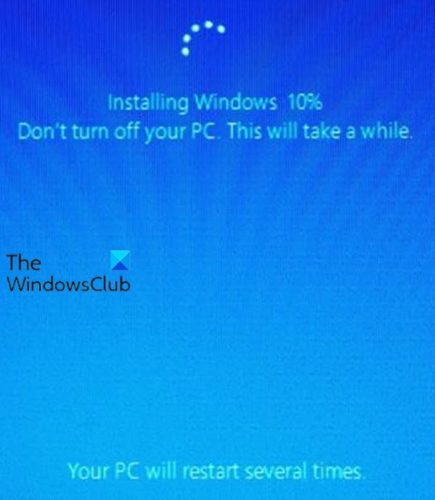
At this penultimate step, Windows will then show that it’s recovering your PC. When finished, Windows 10 is officially reinstalled.
7] Set up Windows 11/10
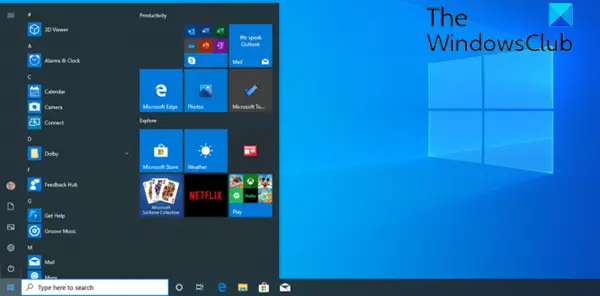
At this last step, Windows 11/10 then takes you through the (OOBE) setup process and applies any updates. After the setup is finished, you can sign in to Windows 10. You can now restore your personal files if you’ve previously backed them up. You’ll also need to reinstall your applications as well.
And that’s your 7-step process to using a recovery drive to restore Windows 11/10!
Related read: Create Surface Book and Surface Pro Recovery Drive.