For long, gaming enthusiasts have desired to use a PlayStation controller for playing games on a Windows PC. Luckily, the free DS4Windows program makes pairing a DualShock controller to your PC, a breeze. Plus, you don’t need any advanced computer skills for the purpose. So, let’s uncover the trick to using a PlayStation controller on a Windows 10 PC
How to connect PlayStation Controller to Windows PC using Bluetooth
DS4Windows is a portable program that lets you get the best experience while using a DualShock 4 on your PC by emulating an Xbox 360 controller. The UI appears quite minimalistic, allowing users to quickly set up the controller. It gives you a default profile but if you want to choose something different, you can change things to your heart’s content.

Download the zip file by visiting the official website – ds4windows.com. and then extract the two programs:
- DS4Windows
- DS4Updater.
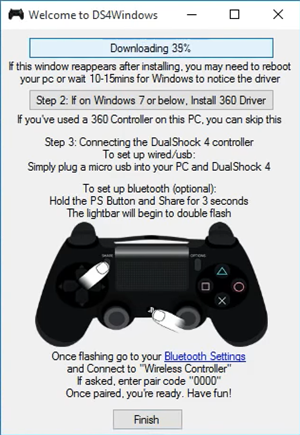
Launch the program. A window will pop up showing how to install the driver.

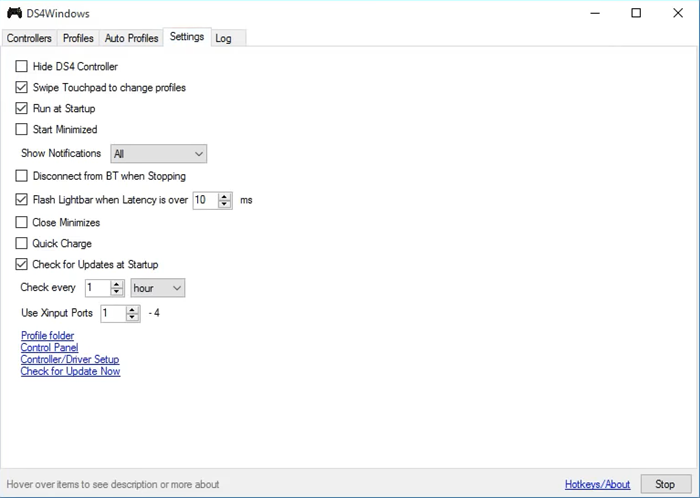
If not, go to settings and click ‘Controller/Driver Setup’.

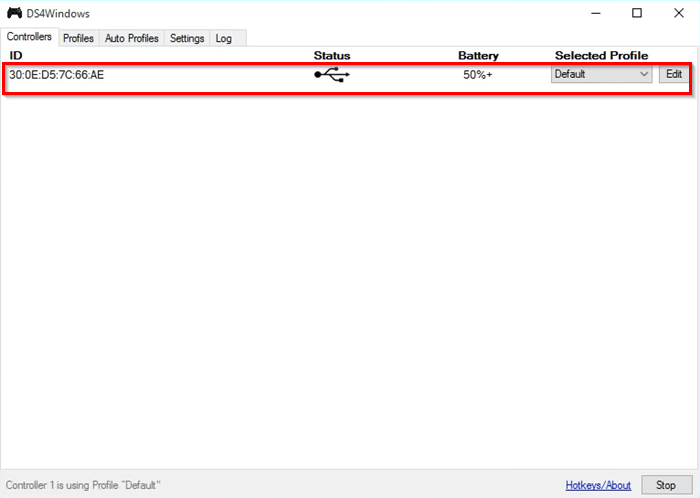
Now, simply connect the DS4 via a micro USB or through Bluetooth (DS4 Device name: ‘Wireless Controller’).

Here, if you are prompted to enter a code for pairing, enter the pairing code as 0000.

Once done, you should be good to go. If not, restart DS4Windows or even your computer.
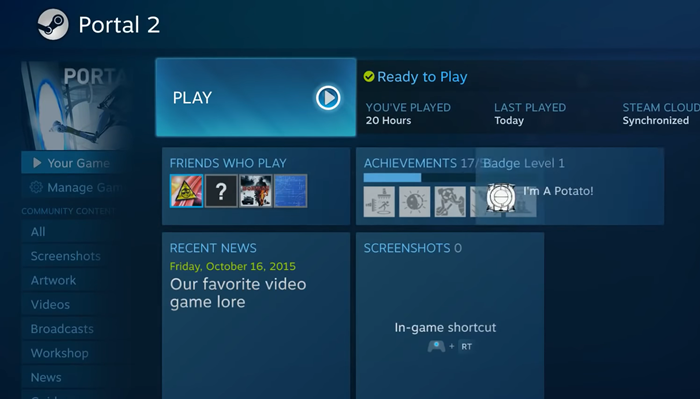
It’s important to mention that some games work with the DS4 without DS4Windows. As such, games like these can trigger a double entry in menus. For example, pressing down on the dpad will move two spaces or force some unwarranted functions.
To solve this, switch to the ‘Settings’ tab of DS4Windows Setup and check the ‘Hide DS4’ option. 5+Here, if you notice a warning message displayed in the log/text at the bottom, close the related game or client that causes the conflict and reconnect the controller.
Let us know if you can get this to work successfully.
TIP: This post will show you how to connect a PlayStation Controller to a PC without Bluetooth (Wired).