Windows operating system will not allow you to make changes in certain system critical registry keys. Nevertheless, if you want to make changes even in such registry keys, you will have to take full control of these keys before Windows allows you to make or save the changes. We have seen how to take ownership or files & folders in Windows, now let us see how to take ownership of Registry keys.
TIP – You can also use our freeware to do this easily:
- Our freeware RegOwnIt will let you easily take ownership of Registry keys
- Our freeware Ultimate Windows Tweaker will let you take Ownership of Files and Folders easily.
Take ownership & full control of Registry keys
Before you open the Registry Editor as admin, first backup your Windows registry and create a system restore point.
Next, navigate to the registry key where you want to make the change.
If you try to make changes to such system critical registry keys, you will get the following error:

Error Creating Key, Cannot create key, You do not have the requisite permission to create a new key
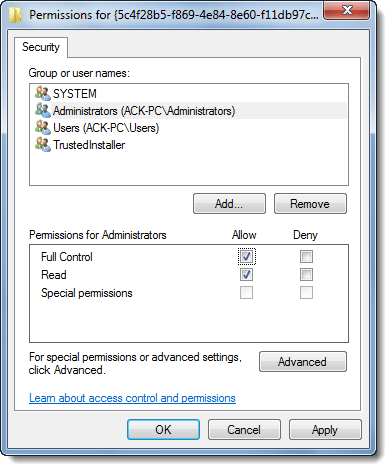
Close this error dialog box and right-click on the Registry key where you want to make the changes and click on Permissions.

In the Permissions box, under its sole security tab, highlight your own Administrators account and then check the box under Full Control – Allow.
Click Apply > OK.
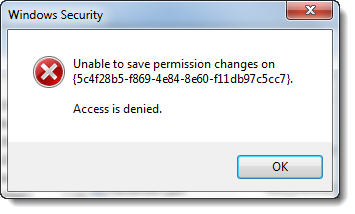
If it still doesn’t work and you get the following security warning – Unable to save permission changes, do the following.

Open the Permissions windows again and click on Advanced button instead, and click on the Owner tab.

Do you see another owner like say, TrustedInstaller? If so, change the owner to your Name.
Click Apply > OK.
NOW again in the Permissions box, under its sole security tab, highlight your own Administrators account and then check the box under Full Control – Allow. Click Apply > OK.
It should work.
It is always a good practice reversing the changes back to their default settings, once you have made the necessary changes.