If you are curious to know how to set up a Dev Drive on Windows 11 for developers, you are at the right place. This new feature by Microsoft is accompanied by Dev Home, a new developer application. While the application (Dev Home) allows developers to create a developer environment in Windows, the Dev Drive intends to augment the level of development experience in Windows 11.

Designed for both developers and programmers, it also allows you to install applications in the developer environment in Windows. This post will guide you through all the details regarding how to set up a Dev Drive on Windows 11 for developers.
What is Dev Drive on Windows 11?
Before the introduction of Dev Drive, as a developer, you would save your work in folders based on the number of projects you worked on. Further, you would keep these folders in a parent directory, for example, the E drive, specifically to store files related to your projects.
However, the Dev Drive serves as a dedicated volume to help you store your development files. This will help the files not just stay demarcated from other files but also enhance the overall development experience. It takes away the pain of repeated searches of appropriate directories, the continuous change between different apps, and more.
Besides, the Dev Drive is known to use the Resilient File System (ReFS) which empowers the developers with more control over the settings of the dedicated partition. For example, you can make changes to the settings of the storage volume, security & antivirus, administrative access, etc.
How to Setup a Dev Drive on Windows 11 for Developers?
Since the Dev Drive is currently in the public preview, you cannot access it directly. According to reports, the feature will soon be available on the stable build of Windows 11 through the Windows Settings app. However, before you set up a Dev Drive, your PC needs to meet a few requirements. Having said that, here’s a quick guide on how to set up a Dev Drive on Windows 11 for developers.
- Pre-requisites to create a Dev Drive
- Join the Windows Insider Program
- Set up a Dev Drive
1] Pre-requisites to create a Dev Drive

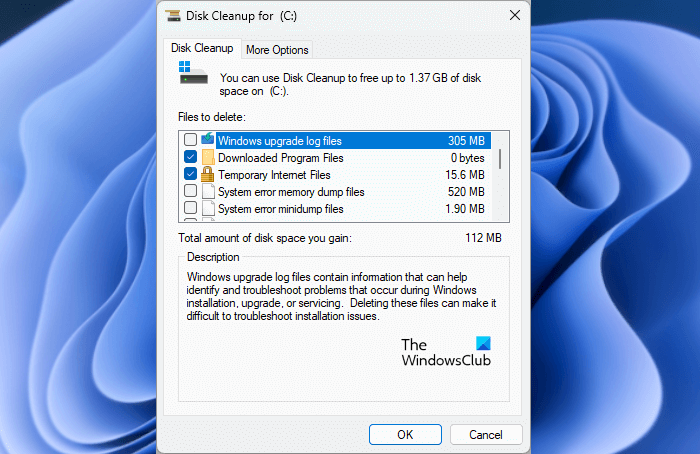
Before you proceed to create the Dev Drive, make sure that your PC has a minimum of 8GB RAM (16 GB recommended) and free disk space of at least 50 GB. Having an SKU version of Windows is a plus. But, if your disk is almost full, you would need to free up & increase hard disk space on your PC to make enough space for the Dev Drive.
Related: How to Enable or Disable Dev Drive Protection in Windows 11
2] Join the Windows Insider Program

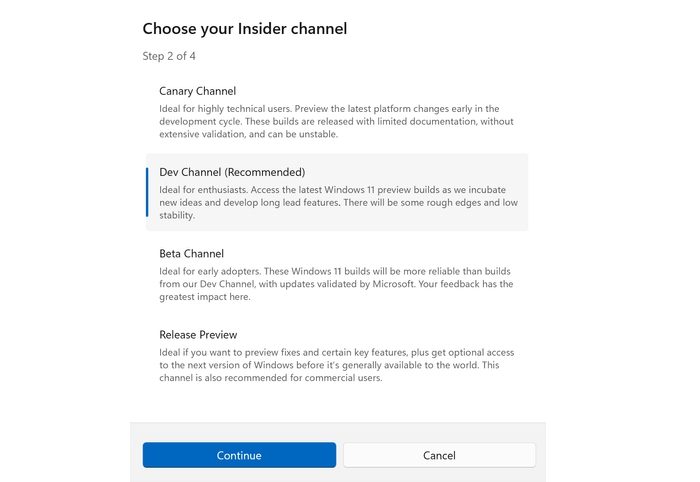
Once you have created enough disk space for the Dev Drive, the next step would be to join the Windows Insider Program. This will give you direct access to the Dev Drive which is available in the Dev Channel of the Windows Insider Program. Open the Windows Settings app (Win + I) > Windows Update > Windows Insider Program > Get started > Sign in to your Microsoft account > Link it with your Windows Insider Program > Dev Channel > Install the new updates. Once done, restart your PC and you are signed into the Windows Insider Program.
Read: How to disable or enable Developer Mode in Windows 11
3] Set up a Dev Drive

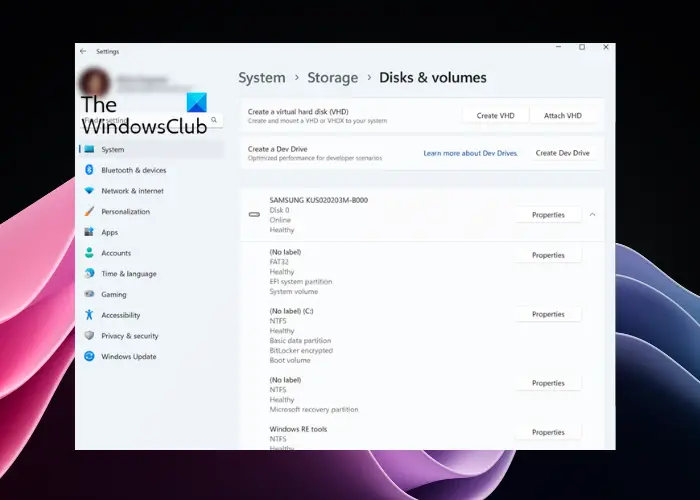
Now that you have signed up for the Windows Insider Program, launch Windows Settings (Win + I) and click on System. Next, on the right, click on Storage > Advanced Storage Settings > Disks & volumes > Create dev drive.
You will now see a prompt (Choose a dev Drive location) with three options – Create a new VHD (Virtual Hard Disk), Resize an existing volume, and Unallocated space on disk.
If you choose to Create a new VHD, open the Run console (Win + R), type diskmgmt.msc, and hit Enter. In the Disk Management window, click on Actions and select Create VHD. Now, you can follow the instructions in our detailed guide to finish creating a Virtual Hard Disk.
For the Resize an existing volume option, you can follow the instructions in our post on how to resize a partition using the Disk Management tool.
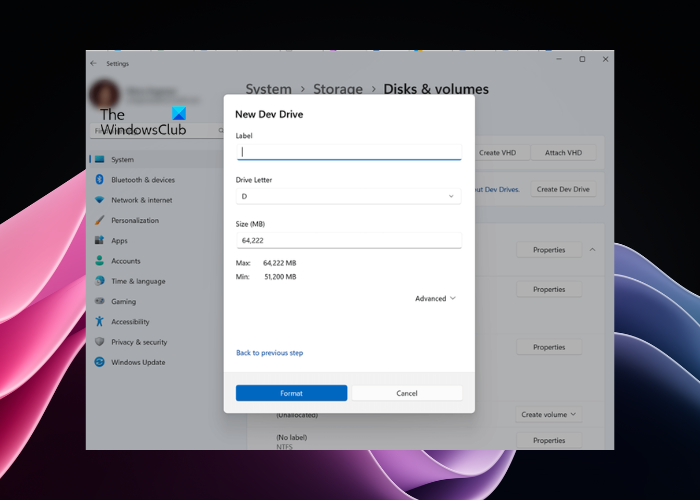
But, if you want to use an unallocated drive space, you must know that the unallocated space is that space on your hard drive that Windows cannot use until you make it available. To use the unallocated space (if there’s any storage space marked as Unallocated), you need to create a new volume that Windows will acknowledge. Once you have selected Create Volume, select Create Dev Drive, and follow the same steps as you would do to create a new volume.
You can also set the Dev Drive as Trusted or Untrusted.
Read: How to format a Hard Drive or Disk in Windows
How do I create a D drive in Windows 11 SSD?
SSD (Solid State Disk) is similar to a hard disk drive that provides additional storage space for the users. If you are only using the computer hard disk for now and you have an unused SSD, it will be the unallocated storage space. You can create two more partitions on the drive to store applications, software, or documents, install OS, etc. Best of all, the SSD does not slow down irrespective of the number of partitions. Whether you want to create the D drive on allocated space or unallocated space in your Windows 11 SSD, you can either use a free partition manager software, use the Disk management tool, or use the Diskpart commands.
How to install SDK in Windows 11?
As a developer, you may need the Windows SDK to get access to the metadata, essential APIs, and tools for developing an application, libraries, and more. You can visit the Windows Dev Center to install the SDK by clicking on the download link. However, before you install the SDK, make sure your PC meets the minimum system requirements.