Users of Windows 11/10/8 may have noticed that Disk Error Checking is a bit different from the earlier versions of Windows. Checking your hard disk, every once in a while for errors – usually caused due to improper or sudden shutdowns, corrupted software, metadata corruption, etc., – in Windows 7 and earlier is always a good practice as this can help solve some computer problems and improve the performance of your Windows computer.
Disk Error Checking in Windows 11/10
Microsoft has redesigned chkdsk utility – the tool for detecting and fixing disk corruption. Microsoft introduced a file system called ReFS, which does not require an offline chkdsk to repair corruptions – as it follows a different model for resiliency and hence does not need to run the traditional chkdsk utility.
The disk is periodically checked for file system errors, bad sectors, lost clusters, etc., during Automatic Maintenance and you now no longer need to really go and run it. In fact, Windows 8 now even exposes the state of the file system and disk via the Action Center or under the Drive properties in File Explorer. If potential errors are found, you will be informed about it. You can continue to use the computer while the scan is carried out in the background. If errors are found, you may be prompted via a notification to restart your computer.
Read: How to cancel ChkDsk in Windows.
Windows found errors on this drive that need to be repaired
You may sometimes see a message – Windows found errors on this drive that need to be repaired. If you see it, you may want to run a scan manually. Earlier, you had to schedule Disk Error Checking for the system drive and for drives that had files or processes or folders opened. In Windows 11/10, error checking starts right away, even on the system drive – and it longer needs to be scheduled at start-up. Only if some errors are found, will you have to restart to let Windows 11/10 fix the errors.
How to run CHKDSK in Windows 11/10
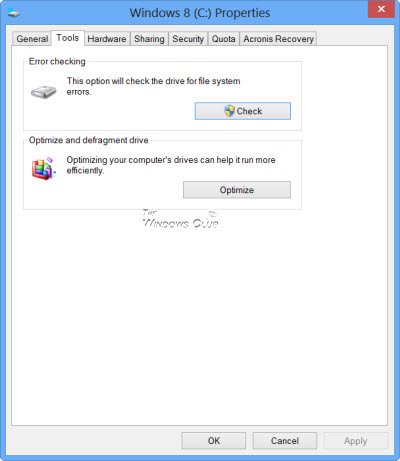
To begin the scan, right-click on the Drive which you wish to check and select Properties. Next, click on Tools tab and under Error-checking, click on the Check button. This option will check the drive for file system errors.
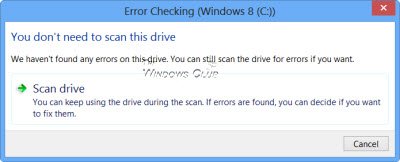
If the system detects that there are errors, you will be asked to check the disk. If no errors are found, you will see a message – You don’t need to scan this drive. You can, nevertheless, choose to check the drive. Click on Scan drive to do so.
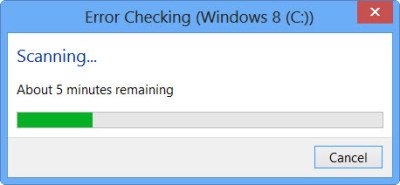
The scanning starts. I found that the process ran quite fast and the scanning was over in less than 5 minutes.
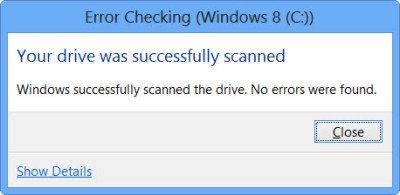
On completion, Windows will display a message. If no errors are found it will say so.
If errors are found, you will see the following message:
Restart your computer to repair the file system. You can restart right away or schedule the error fixing on the next restart.
When I clicked on Show Details, the Event Viewer sprang to life, showing me the relevant log.
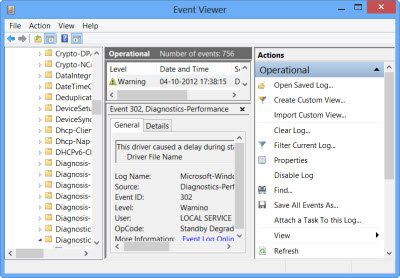
In Windows 11/10, Microsoft has made the Disk Error detection and correction of file system errors less intrusive so that users can carry on working on their computers without worrying about such error.
To run Check Disk on your System Drive (C), using the command line, type the following and hit Enter:
chkdsk /r C:
If required, restart your computer.
Note:
- ChkDsk /f scans for and attempts to repair errors in the file system.
- ChkDsk /r includes /f, but it also scans the entire disk surface for physical errors and attempts to repair them as well.
Read next: Command Line ChkDsk Options, Switches, Parameters in Windows
Will chkdsk fix corrupt files?
No, CHKDSK will not fix corrupt or damaged files. It only checks if the file system is in good condition and that the data on the disk is in a consistent and safe state. If files are damaged, the CHKDSK attempts to separate the damaged files and save the remnants in .chk file format.
These links may also interest you: